
Lash Empowerment: Unleash Your Beauty with DIY Extensions
Have you ever wished for a fuller, more dramatic set of lashes? Don’t we all dream of batting our eyes and causing hearts to flutter? The good news is that you don’t need to rely on mascara alone to achieve this look. The secret to eye-catching beauty can be at your fingertips, right in the comfort of your home.
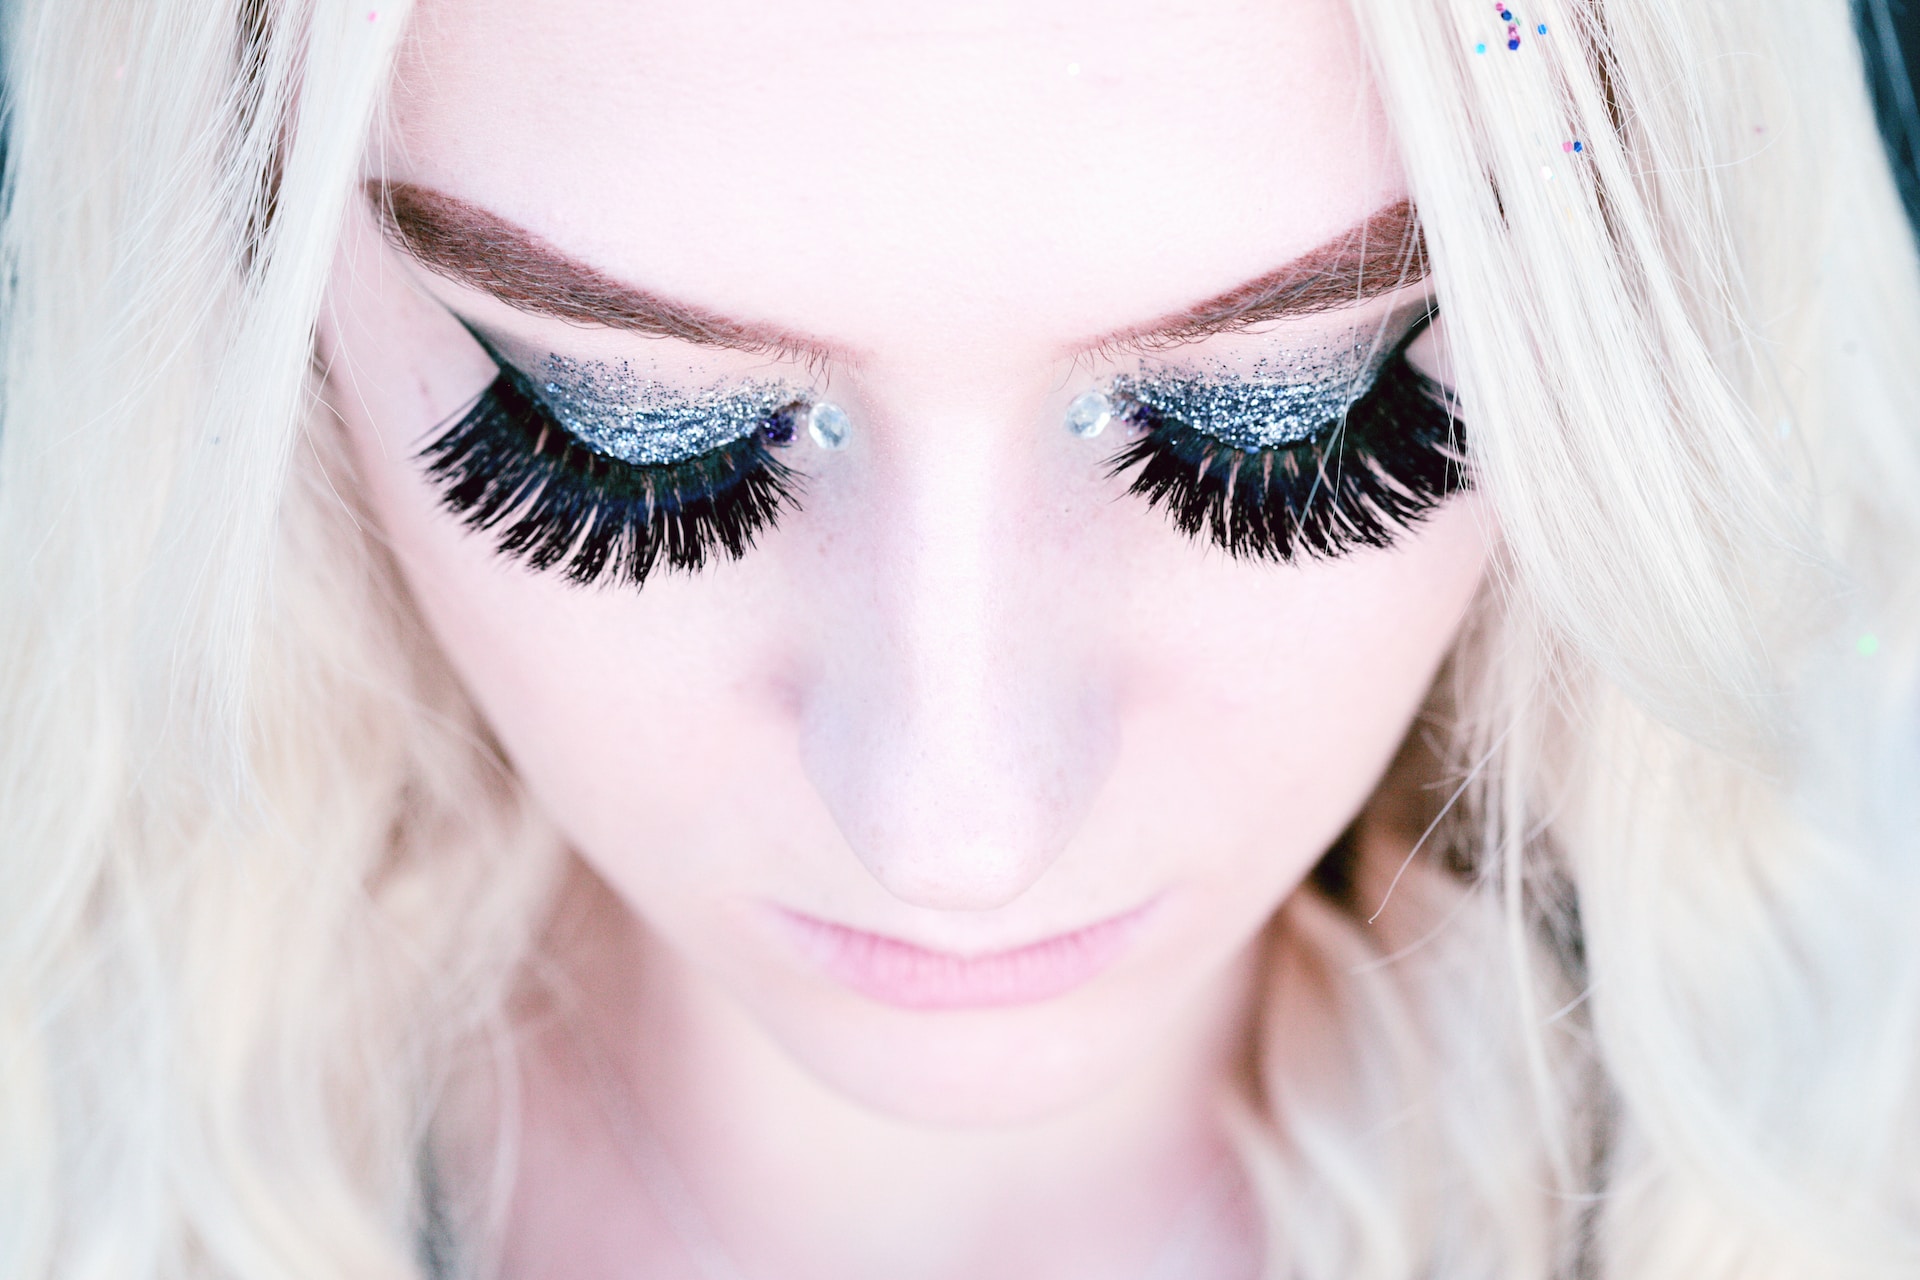
Yes, we’re talking about creating an authentic look with DIY eyelash extensions! They not only redefine your eyes but also give a voluminous boost to your natural lashes.
Wondering how? Get ready to embark on an eye-opening journey that will equip you with the skills to master the art of DIY eyelash extensions. By following our step-by-step instructions, you’ll be able to create an authentic look that accentuates your eyes and leaves you ready to stun with your new lush lashes.
Step 1: Gather Your Supplies
Before we jump into the application process, it’s crucial to have all the necessary supplies within reach. Here’s what you’ll need:
- Eyelash extensions: Choose a style that aligns with your desired look, whether it’s natural, wispy, or dramatic.
- Lash adhesive: Go for a high-quality adhesive specifically designed for eyelash extensions. Look for one that is long-lasting and waterproof for a reliable hold.
- Tweezers: Invest in a pair of fine-tipped tweezers to precisely handle the extensions during the application.
- Lash comb or spoolie brush: This tool helps separate and groom your natural lashes, ensuring a seamless blend with the extensions.
- Scissors: Have a pair of small, sharp scissors handy for trimming the extensions to fit your eye shape.
- Makeup remover and cotton swabs: These will come in handy for any cleanup or adjustments during the process.
Step 2: Prepare Your Natural Lashes
Well-prepped lashes are the foundation to a successful eyelash extension application process, so follow these steps to ensure your lashes are ready:
- Clean your lashes: Using a gentle oil-free cleanser or a dedicated eye makeup remover, gently cleanse your lashes and eyelids to remove any traces of makeup, oils, or debris. This step ensures better adhesion.
- Trim the extensions (optional): If the lash extensions are longer than your natural lashes, consider trimming them to match your desired length. Use your scissors to carefully trim the lashes from the outer edge, keeping them slightly longer towards the outer corners for a subtle winged effect.
- Comb your lashes: Take your lash comb or spoolie brush and gently comb through your natural lashes to separate them and remove any tangles or clumps. This step helps create a smooth surface for the extensions to adhere to and ensures a more even and natural look.
Step 3: Applying the DIY Eyelash Extensions
Now comes the exciting part – it’s time to bring your lashes to life! In this step, we’ll guide you through the process of applying DIY eyelash extensions.
- Pick up an eyelash extension: Using your tweezers, carefully pick up one eyelash extension from its tray or container. Hold it from the middle or base, avoiding the adhesive area.
- Apply adhesive to the extension: Dip the base of the eyelash extension into a small amount of lash adhesive. Be mindful not to use excessive glue as it can cause clumping or a messy application.
- Position the extension: Starting from the outer corner of your eye, gently place the extension onto your natural lash line, as close to the root as possible. Use your tweezers to press it gently into place, ensuring it adheres securely.
- Repeat the process: Continue applying the extensions one by one, working your way toward the inner corner of your eye. Remember to space them evenly and follow the natural curve of your lash line for a seamless blend.
- Adjust and separate: If needed, use your tweezers or fingers to adjust the position of any extensions and separate any lashes that may have stuck together during the application process.
- Let the adhesive dry: Allow the adhesive to dry fully and set. Follow the recommended drying time specified by the adhesive manufacturer to ensure a strong and long-lasting hold.
Troubleshooting Common Issues with DIY Eyelash Extensions
While DIY eyelash extensions can be a fantastic way to enhance your natural beauty, it’s not uncommon to encounter a few challenges along the way. Here are some troubleshooting tips for common issues you may face:
Lashes not sticking properly:
If you’re experiencing issues with the extensions not adhering well to your natural lashes, double-check the following:
- Ensure your natural lashes are clean and free from any oils or residues that may interfere with the adhesive.
- Use a high-quality lash adhesive that is specifically formulated for eyelash extensions.
- Allow the adhesive to dry sufficiently before moving or touching your lashes.
- Make sure you’re applying the extensions close to the base of your natural lashes for a secure hold.
Extensions appearing uneven or clumpy:
If you notice that your extensions are clumping together or appearing uneven, you can:
- Separate and groom your lashes regularly using a clean lash comb or spoolie brush.
- Adjust the positioning of any extensions that may be sticking together or overlapping, using gentle pressure with your tweezers.
- Trim the extensions if necessary to ensure they’re not too long or interfering with your vision.
Premature lash extension fallout:
If you find that your extensions are falling out sooner than expected, consider the following:
- Avoid rubbing or pulling at your lashes, as this can cause premature shedding.
- Be cautious when cleansing your face, gently patting the eye area instead of rubbing vigorously.
- Steer clear of oil-based products, as they can weaken the adhesive bond and lead to faster fallout.
- Maintain regular touch-up appointments to fill in any gaps and keep your lash line looking full.